
Updated October 2026. This post contains affiliate links. If you sign up through them, I may earn a commission at no extra cost to you.
Quick answer: To build a systeme.io sales funnel, create a free account, set your sender email, click Funnels → Create, choose “Build an audience”, pick an opt-in page template, connect an email campaign, and publish. Systeme.io creates the opt-in and thank-you pages for you. The whole thing takes 30 to 60 minutes and costs nothing on the free plan.
My first funnel was simple. One headline, one form, one free PDF. It still brought in subscribers in the first week. That’s the point of this guide: get something live today, then improve it.
I built a fresh funnel while writing this, so every screenshot below comes from my own systeme.io account.
What you need before you start
- A free systeme.io account (create one here)
- A lead magnet, like a checklist, short guide or mini video course
- 30 to 60 minutes
That’s all. No designer, no coding, no extra tools.
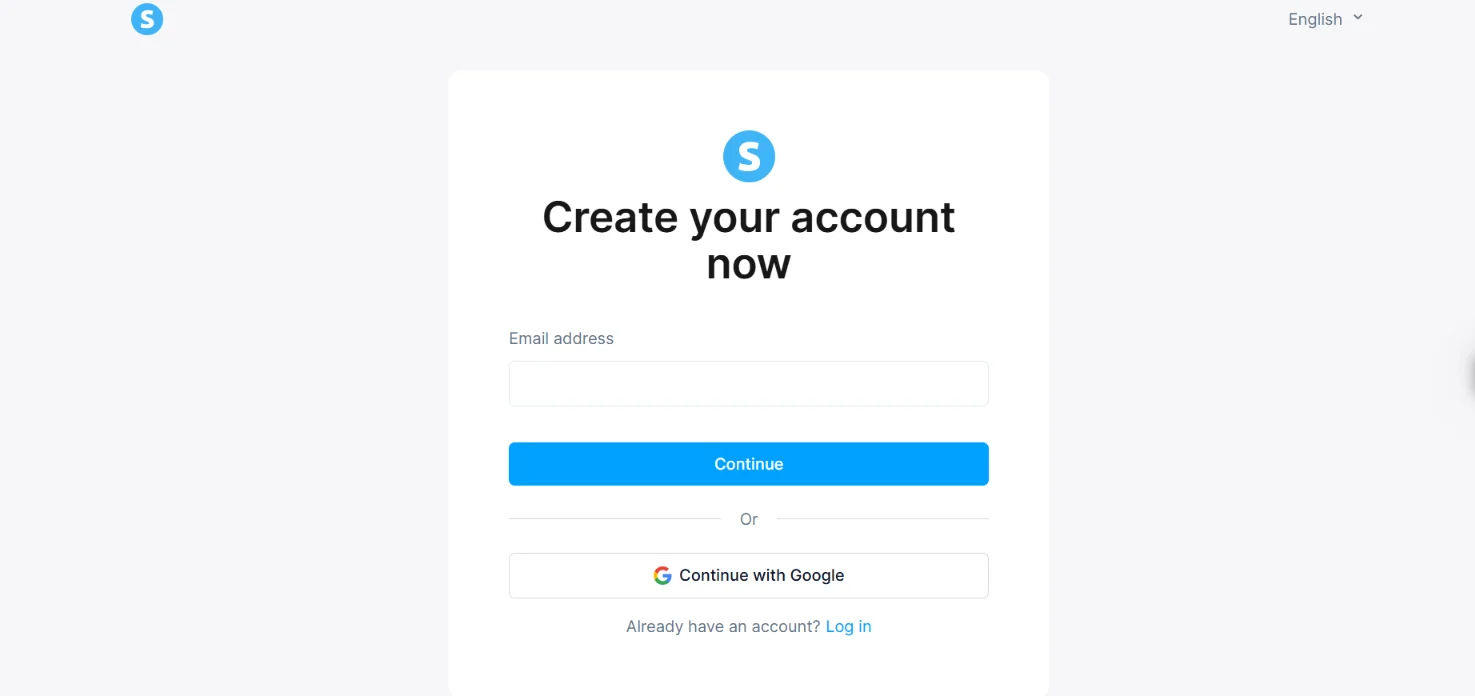
Step 1: Create your free account and set your sender email
Go to systeme.io and sign up with your email or your Google account. No card is needed.
Before building anything, set up who your emails come from. Click your profile picture, then Settings → Emails. Verify your email address, then under Sender, pick that address and type the name people will see in their inbox.
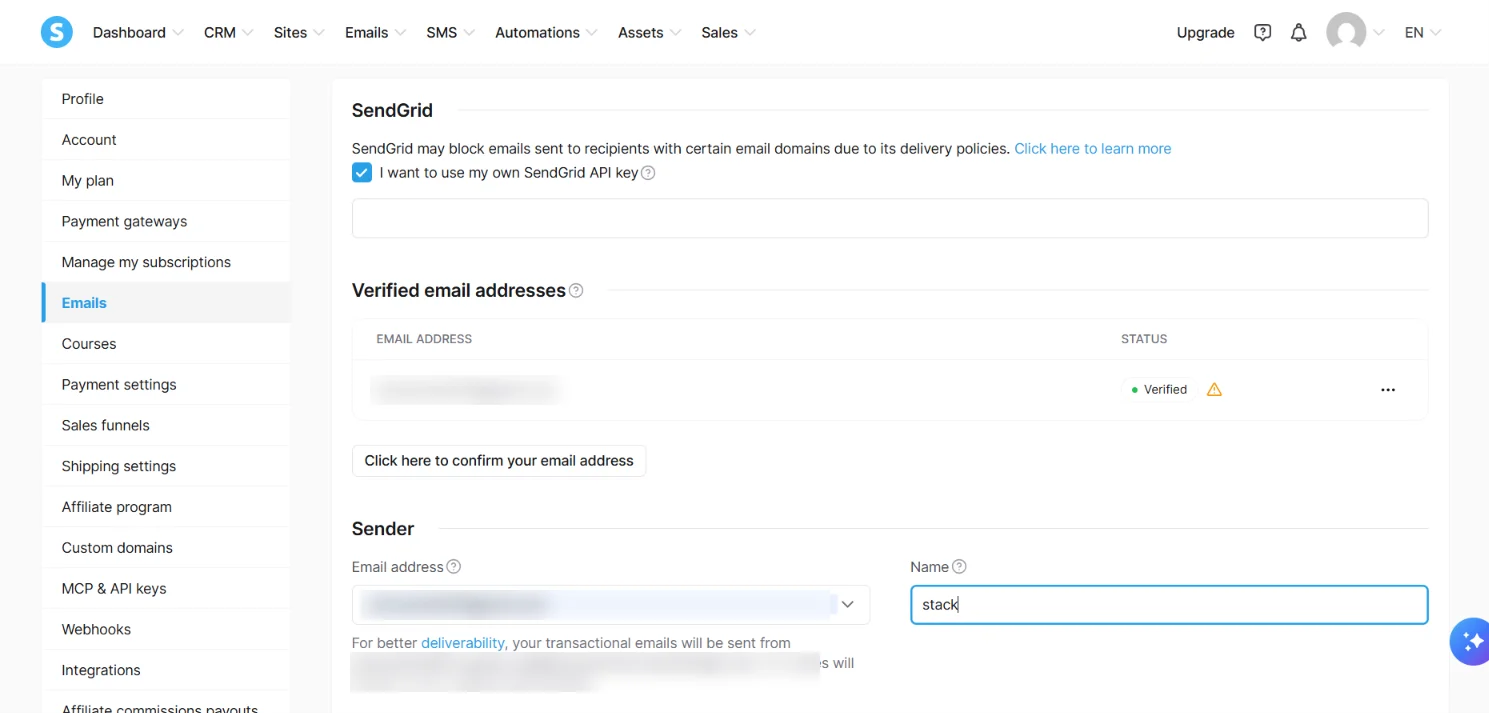
Systeme.io sends your emails through its own delivery server for better inbox placement, but replies still come to your normal email address.
Step 2: Create a new systeme.io sales funnel
Click Sites → Funnels, then Create. Give it a clear name, like “Free Checklist Funnel”, and choose your goal:
- Build an audience: collect email addresses
- Sell: sell a product or a service
- Run an evergreen webinar: automated webinars (paid plans)
- Custom: build every step yourself
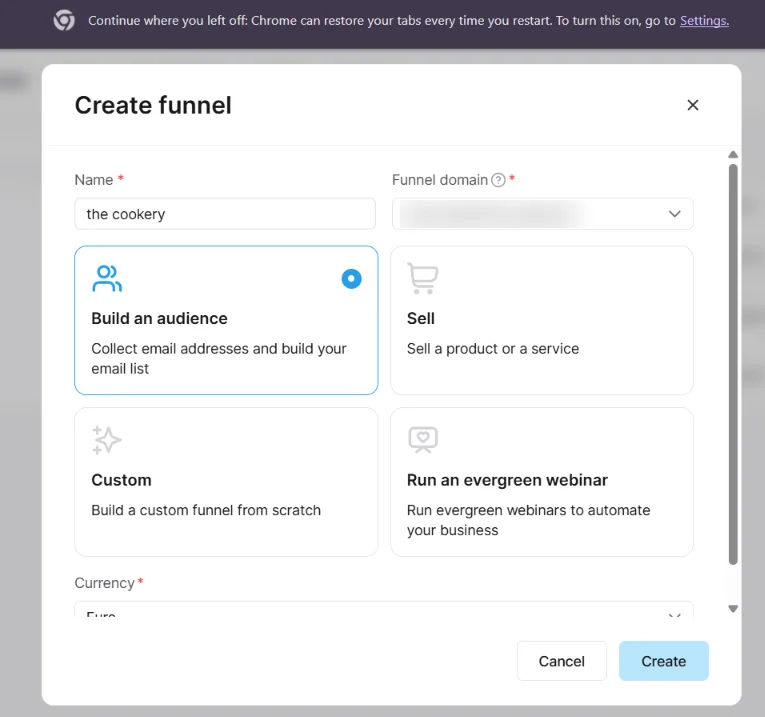
For your first funnel, pick Build an audience. It’s easier to sell to someone who already trusts you.
Step 3: Build your opt-in page
Here’s a nice surprise: systeme.io creates the first two steps for you, an Opt-in page and a Thank You / Download page. Click the opt-in page and choose a template.
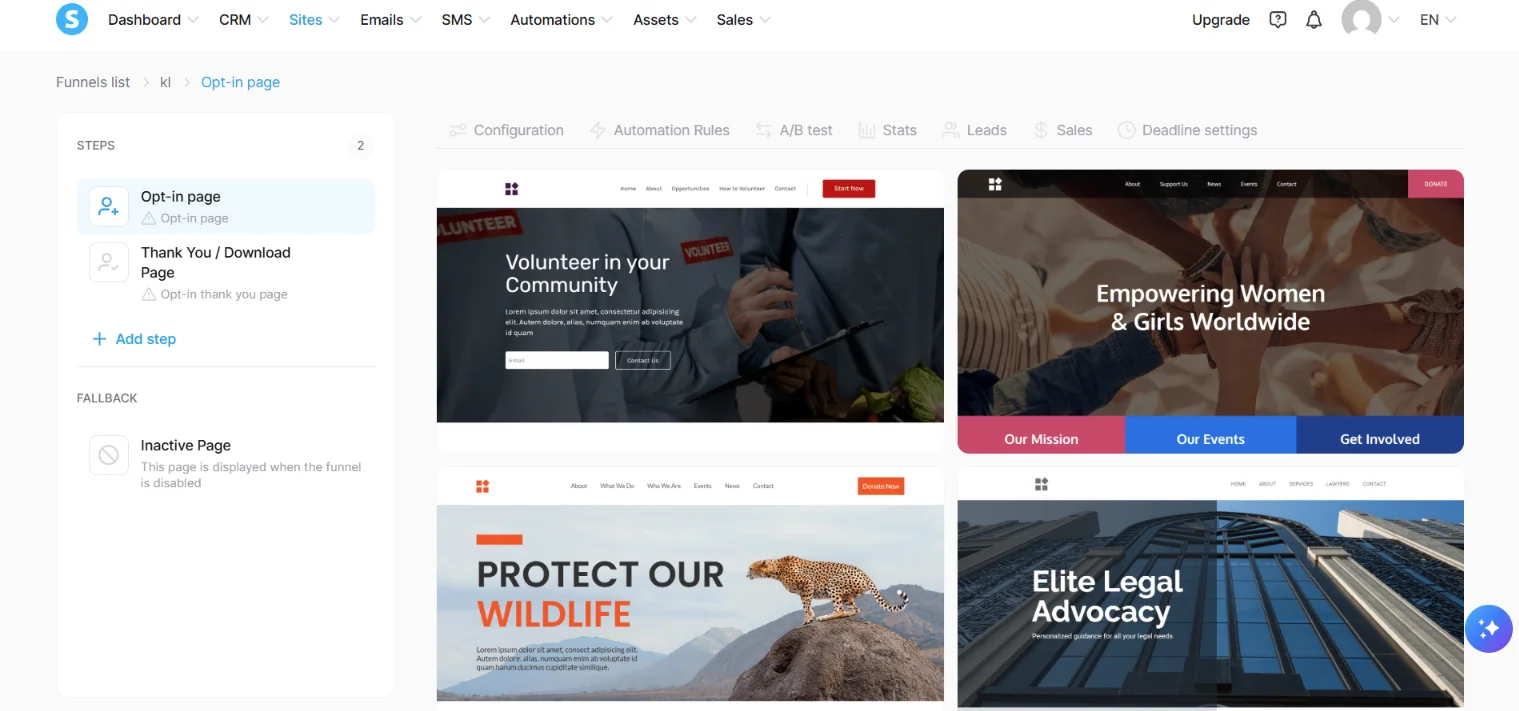
Once you’ve picked a template, edit three things:
- Headline. Say the result, not the product. “Get your first 100 subscribers in 30 days” beats “Free Email Marketing Guide”.
- Two or three bullets on what they’ll get.
- The button. “Send me the checklist” works better than “Submit”.
Keep it short. Every extra field or paragraph costs you sign-ups.
Step 4: Set up your thank-you page
Click the Thank You / Download Page step. Tell people to check their inbox, and add a download button for the lead magnet so they get it instantly.
Tip: use this page to make a small offer or invite them to your WhatsApp or Telegram group. It’s the page people pay most attention to.
Step 5: Set up your email sequence
Go to Emails → Campaigns and create a new campaign. Give it a name and choose the sender email you set up in Step 1.
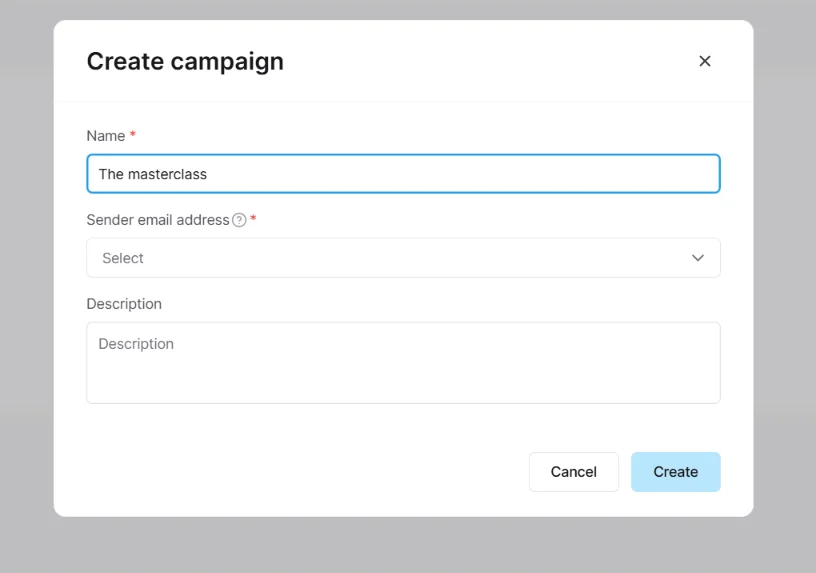
Inside the campaign, add a short sequence:
- Day 0: Deliver the lead magnet and say hello.
- Day 1: Share a quick win or personal story.
- Day 3: Answer a common question or mistake.
- Day 5: Introduce your product or offer.
Then go back to your funnel, open the opt-in page and click the Automation Rules tab. Add a rule: when someone subscribes to this form, subscribe them to your campaign. The free plan includes 1 automation rule, which is exactly enough for this.
Step 6: Add a sales page and payments (optional)
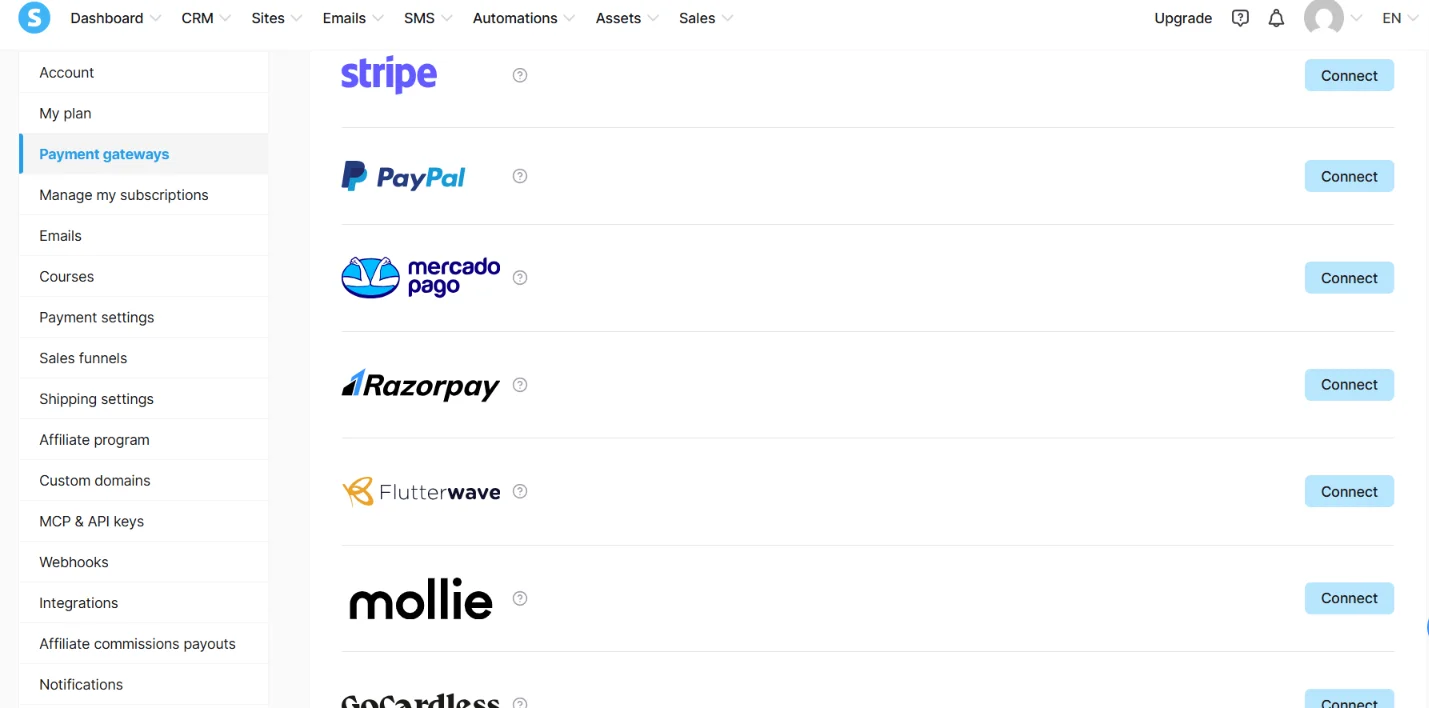
If you have something to sell, click Add step in your funnel and add a Sales page and an Order form. Then connect a payment gateway under Settings → Payment gateways.
Worth adding later: an order bump (a small add-on at checkout) and a one-click upsell. Both raise your average order without extra traffic. Note that the free plan limits these to 1 each and caps total sales at $10,000.
Step 7: Publish and test
Connect your own domain if you have one, then preview every page on your phone. Sign up with a different email to check the whole flow: form, thank-you page, first email.
Inside the funnel, the Stats and Leads tabs show you how many people visit and sign up, so you can see what’s working.
If everything works, share the link on Instagram, YouTube, LinkedIn or your blog.
Mistakes to avoid
- Skipping the sender setup. Unverified sender emails land in spam.
- Asking for too much. Name and email is enough.
- Heavy images. Big images slow pages. Compress them before uploading.
- No follow-up. A funnel without an email sequence is just a form.
- Waiting for perfect. Publish, then tweak based on real numbers.
What’s next?
Once your list starts growing, the free plan’s limits will show up. My systeme.io pricing guide explains when it’s worth upgrading. Still choosing a tool? Read my Systeme.io vs ClickFunnels comparison.
👉 Start with systeme.io for free today
FAQ
Can I build a sales funnel on the systeme.io free plan?
Yes. The free plan includes 3 funnels with up to 15 steps, unlimited emails, 1 automation rule and up to 2,000 contacts. You can open a free account here.
How long does it take to build a funnel on systeme.io?
A simple opt-in funnel takes 30 to 60 minutes, because systeme.io creates the opt-in and thank-you pages for you and gives you ready-made templates.
Do I need coding skills to use systeme.io?
No. Everything uses a drag-and-drop editor and ready-made templates.
Which payment gateways does systeme.io support?
Stripe, PayPal, Razorpay, Mollie, Mercado Pago, Flutterwave and GoCardless. Systeme.io itself takes 0% of each sale.
What is the best first funnel to build?
A lead magnet funnel: an opt-in page, a thank-you page and a short email sequence. It builds your list before you try to sell.
Why are my systeme.io emails going to spam?
Usually because the sender email isn’t verified. Go to Settings → Emails, verify your address and set a sender name before sending your first campaign.